
Printables
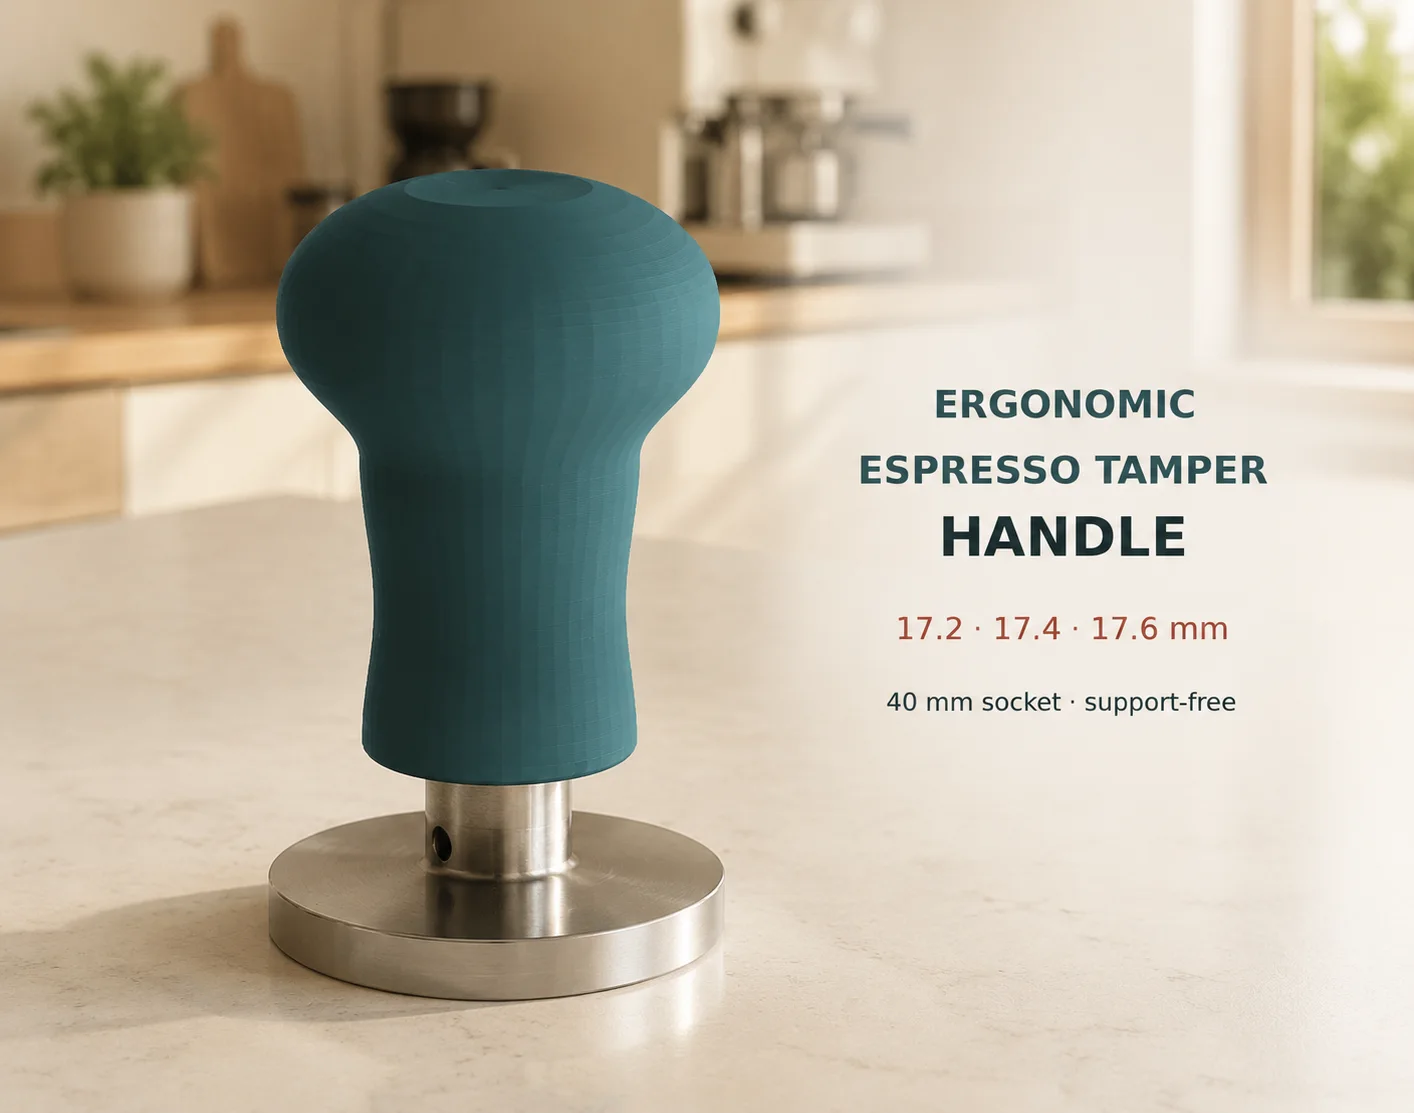
Ergonomic Mushroom Handle for a Tamper Stem (parametric OpenSCAD)

- Creator (as listed at the source)
- František Kindl
- Licence
- Creative Commons — Public DomainStated at the source marketplace; SliSearch does not verify licences.
- File types
- 3MF SCAD STL
- Pricing
- Free
- Published
- Category
- Kitchen
Overview
A one-piece replacement palm handle for a fixed espresso tamper mechanism with an approximately 17 mm round stem and a 40 mm insertion depth. The wide rounded top spreads pressure comfortably across the palm, while the narrow waist provides a natural finger grip. The socket is intentionally stepped: the lower 30 mm has an additional 0.4 mm of clearance, and only the upper section provides the snug fit. This prevents a long, worn metal stem from binding while keeping the handle stable.
Key dimensions
- Overall height: 56 mm
- Maximum palm diameter: 48 mm
Read the full description
- Bottom diameter: 30 mm
- Socket depth: 40 mm
- Released fit diameters: 17.2, 17.4 and 17.6 mm
Choose the correct fit
Print the three small tolerance rings first, using the same material and print
settings planned for the final handle. Select the smallest ring that slides
onto the metal stem firmly without excessive force, then print the handle with
the matching diameter.
The 17.4 mm version is the recommended starting point for a measured stem close
to 17.0 mm. FDM printers often produce internal holes slightly undersized, so
the best variant depends on your printer, material and extrusion calibration.
Recommended print settings
- Technology: FDM/FFF
- Orientation: socket opening on the build plate, as supplied
- Material: PETG recommended; PLA also works for normal home use
- Nozzle: 0.4 mm
- Layer height: 0.20 mm
- Perimeters: 5
- Top and bottom solid layers: 6
- Infill: 40% gyroid
- Supports: none
- Brim: optional, 4–5 mm if bed adhesion is unreliable
- Bridge fan: 100% for PLA or approximately 60–80% for PETG
The 17 mm socket ceiling prints as a short bridge. Avoid supports inside the
socket because they are difficult to remove and may affect the fit.
Installation
1. Clean any oxidation or residue from the metal stem.
2. Test the tolerance rings and select the matching handle.
3. Press the handle onto the stem by hand, keeping it aligned.
4. Do not use a metal hammer. If the fit is too tight, use the next larger variant or lightly sand the inside of the socket.
The top is intentionally closed. This model is intended for a mechanism being used as a conventional fixed tamper and does not preserve a click/calibration function.
Parametric source
The included OpenSCAD file exposes fit_diameter , socket_depth , and a part selector for rendering either the handle or a tolerance ring. It is easy to generate an intermediate diameter if none of the supplied versions fits.
Compatibility note
This was developed around a metal pressure-tamper mechanism visually similar to JoeFrex / Concept-Art Technic-style hardware. Product revisions may differ, so measure your stem before printing. This is an independent replacement part and is not affiliated with or endorsed by any tamper manufacturer.
Print this with Prinnu
- Download the model file from the source page. SliSearch moves no files.
- Upload the file at slicience.com/quote. Prinnu quotes it in minutes.
Similar models
Chosen by shared tags first, then category. Each one links to its own marketplace.
 Espresso Set – Portafilter Stand, Tamper & LevelerA 3-piece espresso prep kit, built for the Lelit Anita's 57mm portafilter but easily scaled to fit other common sizes. A stand cradles the portafilter upright and steady while you distribute and tamp.
 Fine Coffee TamperComes in multiple sizes: 49mm, 51mm, 54mm, 57mm, 58mm La Pavoni, Olympia Express Cremina, Krups (older models), Elektra Micro Casa Leva, Strietman, Swan Retro, Amazon Basics De'Longhi Dedica, La Specialista, Krups...
 2-in-1 V60 Tool — Grinder Funnel and Filter ShaperA remix that combines two great models into one connected tool for a cleaner pour-over workflow. The 1Zpresso Q/Q2 grinder funnel and the V60 02 filter shaper are joined via a threaded screw mount — so they store together, travel together...
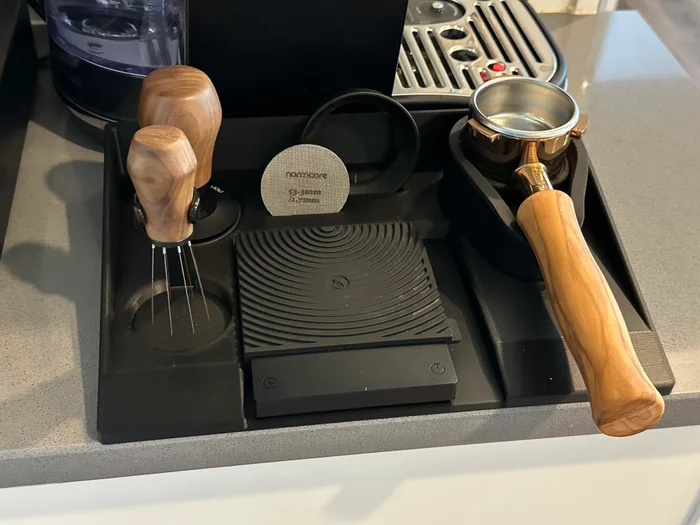 Normacore espresso stationEspresso station for the tamper, wdt, screen, funnel, scale and portafilter. Made specifically for Normacore products.
 No-Glue WDT Tool for Espresso | Uses Standard ToothpicksA simple and practical WDT (Weiss Distribution Technique) tool designed for espresso preparation using standard wooden toothpicks.
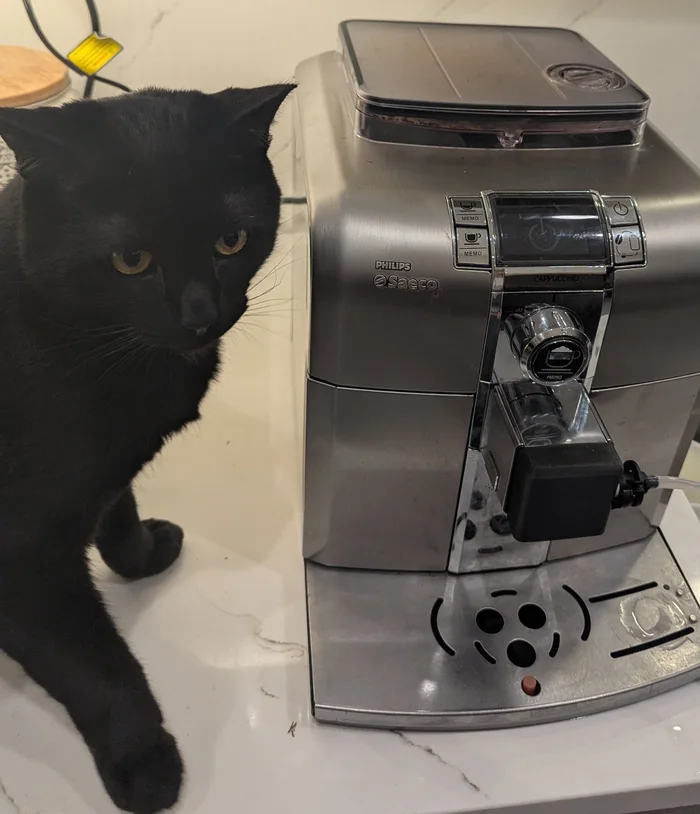 Philips Saeco Syntia Cappuccinatore Cover (HD8838 / HD8839) – No More Flaking ChromeThis model is a direct replacement for the cappuccinatore cover used on the Philips Saeco Syntia Cappuccino series.
 KRUPS GVX242 Grinder Dosing Container (Moka Pot)A simple, purely functional replacement for the stock grinder bin. This model was created for one specific reason: to make filling a moka pot funnel fast, easy, and mess-free.
 Milk Frother Cleaning Tool (30 mm Needle) – Compatible with SageMilk Frother Cleaning Tool (30 mm Needle) – Compatible with Sage A simple replacement milk frother cleaning tool for compatible espresso machines. Instead of using a custom metal pin, this design uses a standard 30 mm sewing pin .
 Customizable Measuring Spoon/Scoop (One or Two Ended)Universal measuring spoon/scoop with one or two ends. Chris from Homebrew Finds made a nice post bout using my Customizable Measuring Cup/Scoop as 3D Printed 6ml Measuring Cup for Measuring Star San.
 Customizable Profiled HandleCreate a handle from one of several (15) profiles generated in Inkscape. Add grips, a ferrule, holes for hanging, or grub-screwing to a tool. Also flat faces for hand carving. Scale or shift the profiles.
SliSearch is an index: it stores public metadata only, does not host files, does not verify licences, and has no partnership or affiliation with the indexed marketplaces.