
MakerWorld
Hat Wall-Mount Display Hook


- Creator (as listed at the source)
- Ooze Control Creations
- Licence
- BY-NC-SAStated at the source marketplace; SliSearch does not verify licences.
- File types
- STEP
- Pricing
- Free
- Published
- Category
- Other Tools
- Likes
- 1
Overview
I reverse engineered this hat hook geometry from some ones I originally bought off Amazon. I modeled the geometry that I measured in CAD software, then made the footprint slightly smaller and added several configurations for mounting the hooks to the wall in various different ways. I see a few other similar hat hook uploads already on here, but still am uploading my own version due to the various wall-mounting configurations I've included here, and the shared license type I've selected (please feel free to remix or customize this design however you'd like!)
The Amazon ones I originally bought (black one shown in a few of the model pics) just had adhesive backing and a singular fastener hole, which I wasn't super content with (although I've still included the option here for mounting the hooks in this way if others want). The adhesive was ripping off my wallpaper, and ideally, I wanted at least two points of securement per hook if I was going to mount these using fasteners or nails instead of adhesive.
This model is the result of the improvements I made. The profile includes 5x different hooks with 5x different mounting styles each is currently setup as a single hook on a separate print plate, so you may need to clone the applicable model in the slicer if you are looking to print multiples of any specific configuration .
Mount to wall using 1x centered M6 or ¼" fastener
Read the full description
Mount to wall using 2x M4 or #8 fasteners spaced 20mm apart horizontally, see geometry sketch included
Mount to wall using 2x M3 or #6 countersunk head fasteners spaced 20mm apart horizontally, see geometry sketch included
Mount to wall using 2x or 3x #18 wire nails spaced 1" [25.4mm] apart horizontally, and 16mm apart vertically, see geometry sketch included) This configuration is my personal preference, and is what I used to mount all 16x of my hooks. One of the pics I've included has instructions for the mounting process I used.
Blank (no holes included) - Mount to wall using adhesive or add in your own custom mounting hole pattern
Each hat hook requires approximately 8.5 grams of filament and is setup in the profile for printing at 0.16mm layer height, with 33% gyroid sparse infill and 3x wall loops. Tree supports are turned ON, but its such a small model that you can probably get away without using them too only one branch is printed to support the small button loop overhang, and it easily removes after printing .
Mounting the printed hooks to the wall can be done in various different ways, as noted above.
With adhesive mounting, obviously the hooks can be positioned wherever…but just beware of the potential damage the adhesive might cause if/when you remove them later on!
With screws mounting, I'd recommend looking for a stud in the wall to place them on (mostly just due to the fasteners themselves).
With wire nails mounting like mine shown , the hooks don't really need to be placed on locations where there's studs in the wall. They can be, but it's not really necessary for how light the forces on these hooks are. I mounted my hooks with ¾" long, tiny #18 wire nails just going straight into the drywall, and arranged in a grid pattern (4x4). Maybe one column of the pattern landed on a stud, but they're all still staying up.
Once the hook is mounted to the wall, it can be used to hold or display most baseball-style caps or trucker-style hats in two potential ways:
It can display the front side and brim of the cap if it has a sturdy circular top button most do, but not every hat does . For those that do, the button goes into the small loop on the hook to support the rest of the cap against the hook's arms. First fold the back half of the cap into the front half, then with the cap front-side facing you, guide the cap's button and top folded edge over the top of the hook arms and under the button loop as shown in the model pics .
It can also be used to simply hang a cap by the adjustable strap portion, with the brim facing downward also as shown in the model pics . Most caps without a sturdy top button should still be able to be hung on the wall from the hook in this method if desired.
Print this with Prinnu
- Download the model file from the source page. SliSearch moves no files.
- Upload the file at slicience.com/quote. Prinnu quotes it in minutes.
Similar models
Chosen by shared tags first, then category. Each one links to its own marketplace.
 Strong Hooks - Wall / Under CounterDesign Concept Ideal for mounting on walls, closets, or the back of doors, this strong hook serves as a practical solution for hanging hats, caps, or even other small accessories depending on your necessity. Printing PLA or ABS can work.
 Heavy Duty Coat HookI designed this double coat hook with an added strengthening rib running through the centre of the part to add extra wall loops inside the hook.
 helmet hook (many versions)Your wished logo isn't available? Ask me! Maybe I make it. ;-) I have created a helmet hook, which has a wide contact surface so that the padding of the helmet won't get damaged.
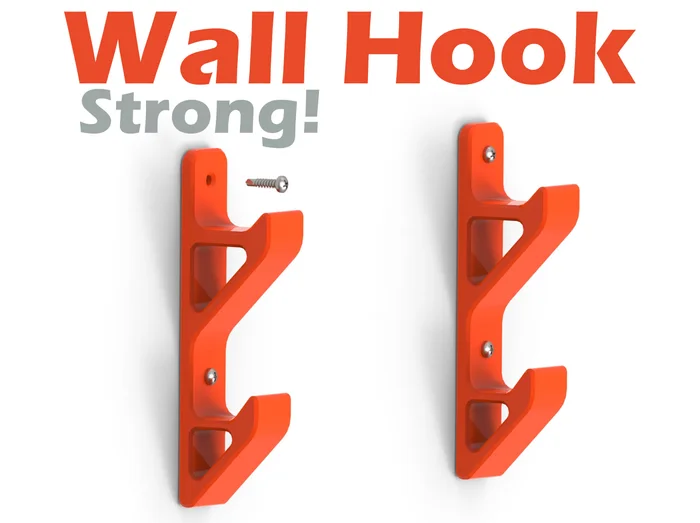 Strong Wall HookUltra Strong Wall Hook, mounted using screws d=3mm or double sided tape, adjustable using the STEP file :)
 Stackable Wall Mount Storage BoxesThese little boxes can be stacked or mounted to a wall. Great for organizing hardware and other small, miscellaneous items around the house or shop. So far there I've only designed two container sizes, but I intend to design some more.
 Foldable Wall Hook - Extended Slot Mod | Print in PlaceRemix of collapsible Wall Mountable Hook
 Hook For Extension CordA simple hook to hang your extension cords! Many know it for sure, if several extension cords hang on a hook that also have the same color, you usually have more than one cable in your hand when you take it down.
 RC Wall MountWallmount for 1:10 RC Cars. Fits Tamiya TT01 or TT02 for example. Printed mine in PLA and did the inlay out of TPU
 Low Profile Hat HookI was looking for a way to display a series of baseball caps in a way that would show off the design, while also being minimalistic. Unable to find anything, I designed these.
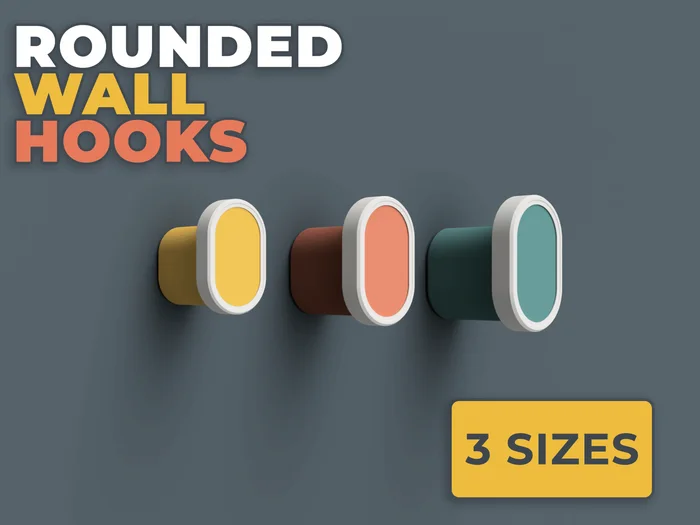 Rounded Wall Hooks – 3 SizesThe model comes in three different sizes, each consisting of: a base that's attached to the wall a top cover part that slides onto the base an optional cover that snaps on around the top Small 1 screw
SliSearch is an index: it stores public metadata only, does not host files, does not verify licences, and has no partnership or affiliation with the indexed marketplaces.